How to Clean Kitchen Cabinets Without Damaging the Finish
Kitchen cabinets collect grease, dust, fingerprints, food splatter and moisture every day. Over time, this build-up can make your cabinetry look dull, sticky or stained, especially around handles, near the cooktop and close to the sink.
The best way to clean kitchen cabinets is to use a soft microfibre cloth, warm water and mild dish soap. Wipe the surface gently, rinse away any residue with a clean, damp cloth, then dry the cabinets immediately. Avoid abrasive scrubbers, harsh chemicals and excess water, as these can damage timber, laminate, painted and gloss finishes.
Whether you are maintaining your existing cabinetry or planning new home kitchen cabinets, using the right cleaning method can help protect the finish and extend the life of your kitchen.
How Often Should You Clean Kitchen Cabinets?
How often you clean your kitchen cabinets depends on how much you cook, the type of cabinet finish you have and how quickly grease builds up in your kitchen. For most homes, cabinet doors and handles should be wiped weekly.
Areas around the stove, oven, dishwasher and sink may need more frequent cleaning because they are exposed to heat, moisture, steam and cooking oil.
Cabinet interiors should be deep-cleaned every few months. This helps remove crumbs, dust, spills and expired pantry items before they cause odours, stains or pest issues.
A simple cleaning schedule is:
- Wipe spills and food splatter immediately
- Clean handles and high-touch areas weekly
- Wipe cabinet doors weekly or fortnightly
- Deep clean the inside of cabinets every 3 to 4 months
- Clean the tops of cabinets monthly if they are exposed
Keeping up with light cleaning is much easier than removing months of sticky grease and grime later.
What You Need to Clean Kitchen Cabinets
You do not need strong chemicals to clean most kitchen cabinets. In fact, gentle cleaning products are usually safer because they are less likely to damage the finish.
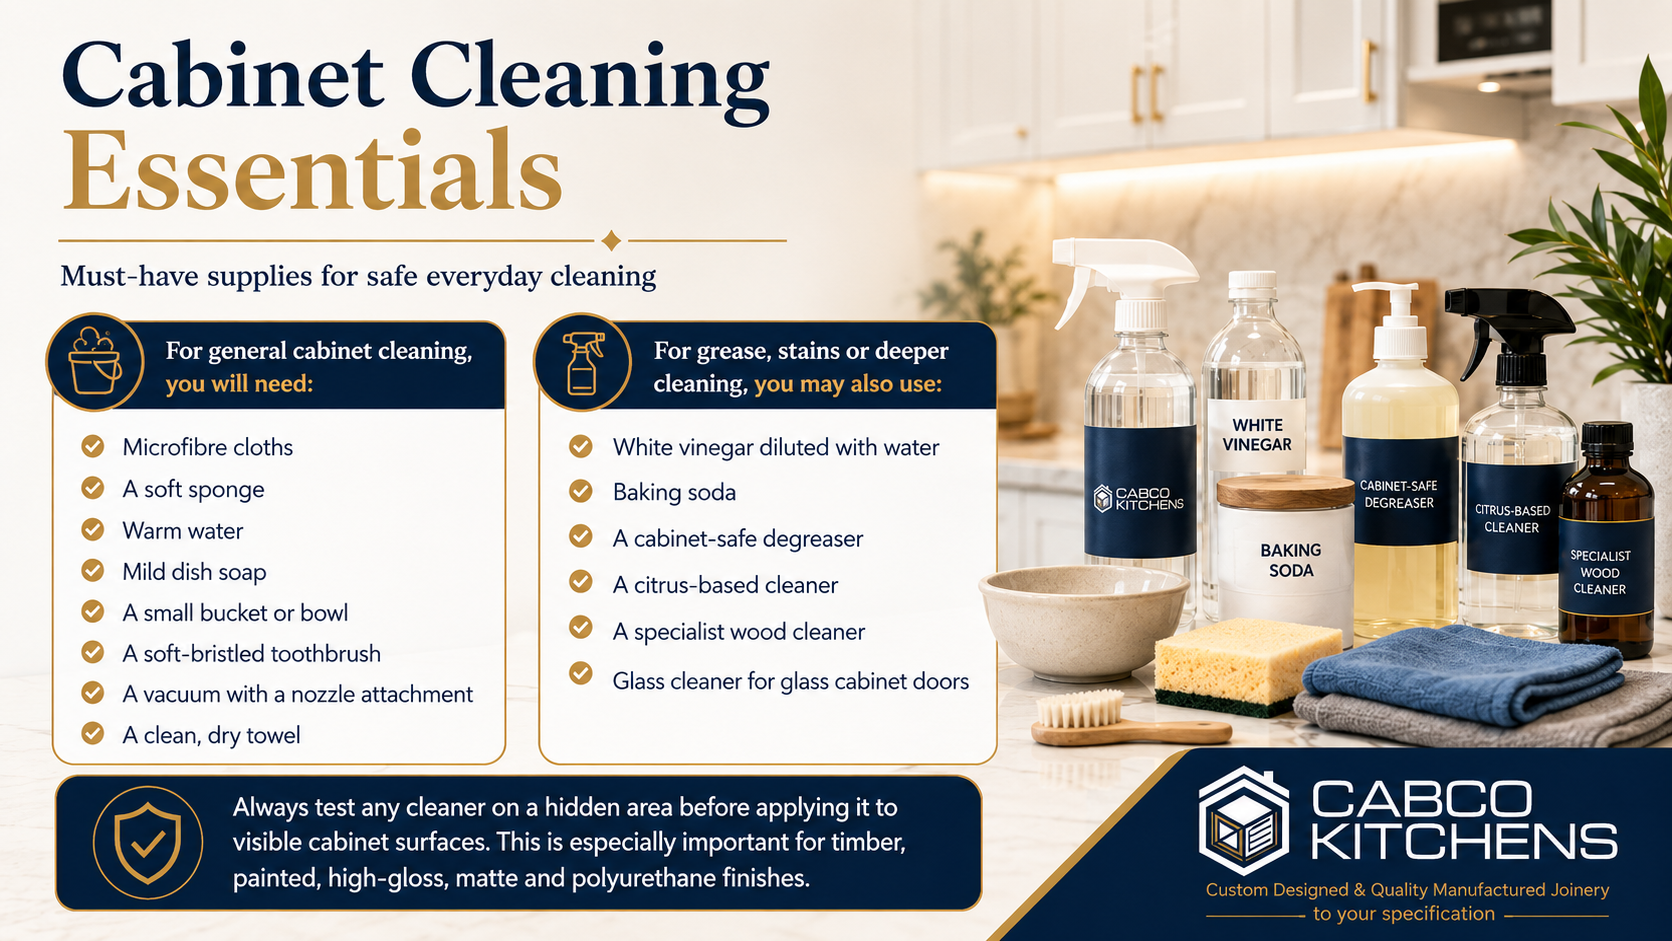
For general cabinet cleaning, you will need:
- Microfibre cloths
- A soft sponge
- Warm water
- Mild dish soap
- A small bucket or bowl
- A soft-bristled toothbrush
- A vacuum with a nozzle attachment
- A clean, dry towel
For grease, stains or deeper cleaning, you may also use:
- White vinegar diluted with water
- Baking soda
- A cabinet-safe degreaser
- A citrus-based cleaner
- A specialist wood cleaner
- Glass cleaner for glass cabinet doors
Always test any cleaner on a hidden area before applying it to visible cabinet surfaces. This is especially important for timber, painted, high-gloss, matte and polyurethane finishes.
Kitchen Cabinet Cleaning Do’s and Don’ts
Before you start cleaning, it is important to understand what protects your cabinets and what can damage them.
Do:
- Use a soft microfibre cloth or non-abrasive sponge. These are gentle enough for most cabinet finishes and help prevent scratches.
- Use a damp cloth rather than a wet one. Excess water can seep into joints, edges and panels, which may cause swelling or warping.
- Clean in small sections. This allows you to wipe, rinse and dry each area before moisture sits on the surface for too long.
- Dry cabinets immediately after cleaning. This helps prevent streaks, water spots and moisture damage.
- Clean around handles, corners and cabinet edges. These areas often collect the most grease and fingerprints.
Don’t:
- Do not use steel wool, scouring pads or abrasive scrubbers. These can scratch paint, laminate, gloss finishes and timber coatings.
- Do not leave water sitting on cabinet surfaces. Moisture is one of the most common causes of cabinet damage.
- Do not use bleach, ammonia or harsh solvents unless the cabinet manufacturer confirms they are safe.
- Do not spray cleaner directly onto cabinet doors, especially near joins, hinges or glass inserts. Spray the cleaner onto a cloth instead.
- Do not use the same cleaning method on every cabinet material. Timber, laminate, painted, gloss and metal cabinets all need slightly different care.
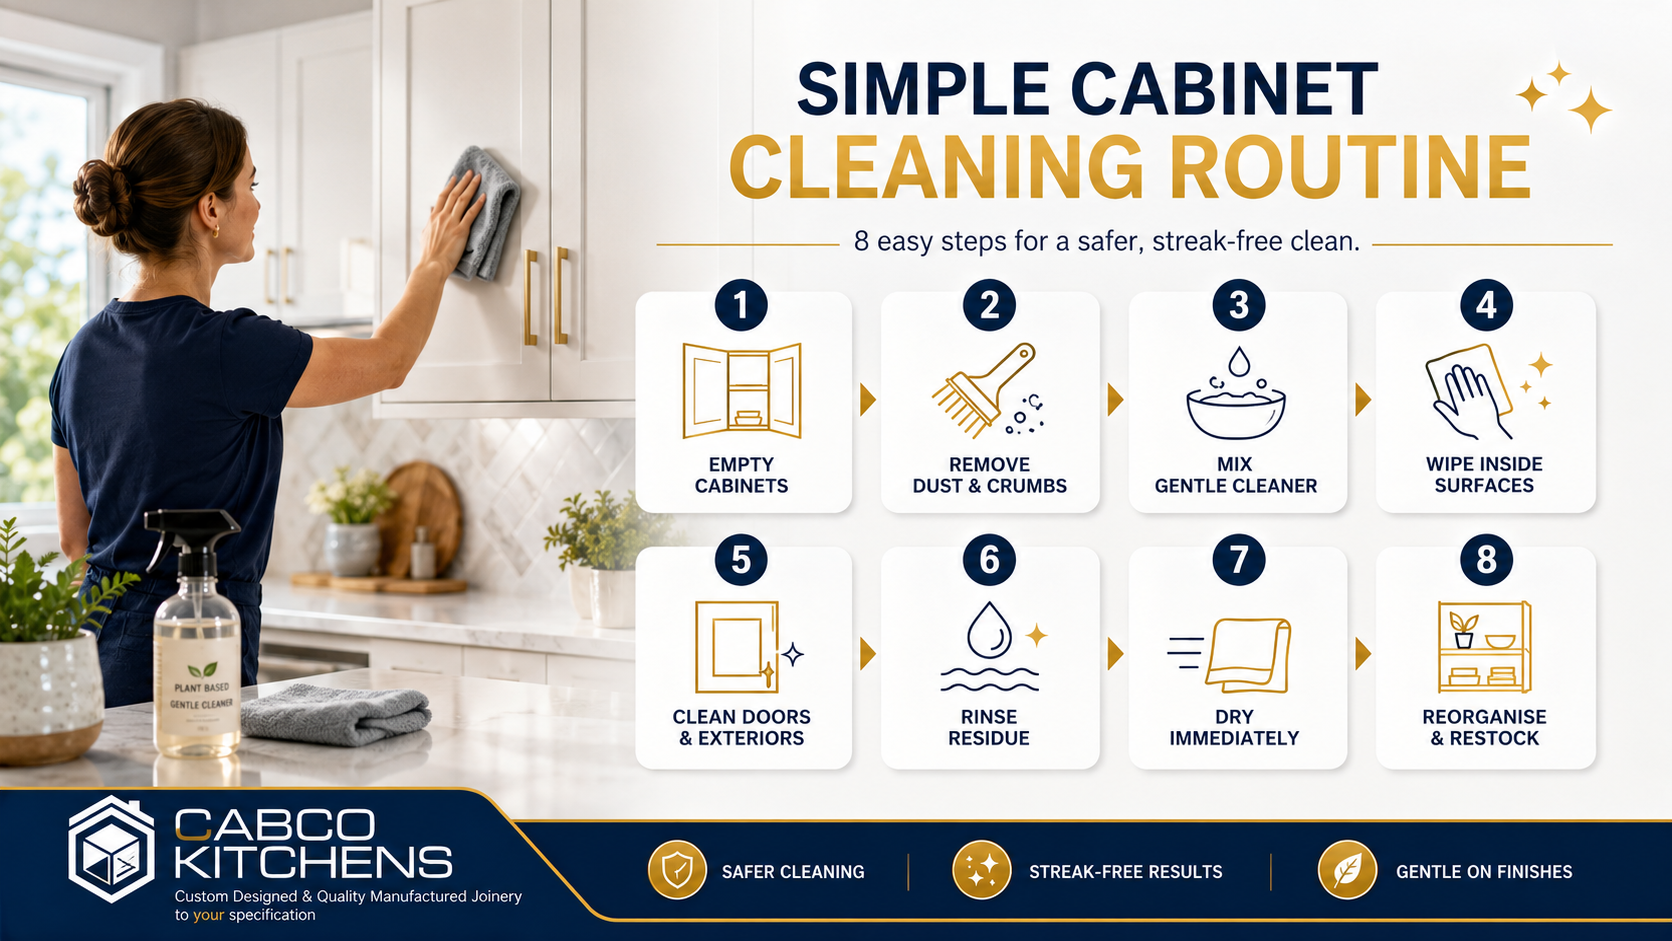
How to Clean Kitchen Cabinets Step by Step
This method is suitable for general cabinet cleaning and can be used for most common kitchen cabinet finishes, provided you test first and avoid excess water.
Step 1: Empty the Cabinets
Start by removing items from the cabinets you want to clean. If you are cleaning the whole kitchen, work one cabinet or drawer at a time so the task stays manageable. Check pantry items, food containers, cookware and cleaning products as you go. Throw away expired food and wipe sticky containers before putting them back.
Step 2: Remove Loose Dust and Crumbs
Use a dry microfibre cloth or vacuum with a nozzle attachment to remove dust, crumbs and loose debris. Pay attention to shelf corners, drawer tracks and the back of cabinets.
Removing dry debris first prevents it from turning into a paste when you start wiping with a damp cloth.
Step 3: Mix a Gentle Cleaning Solution
Add a few drops of mild dish soap to a bowl of warm water. Dip a microfibre cloth into the solution, then wring it out well. The cloth should be damp, not dripping wet.
Mild dish soap is usually effective because it cuts through light grease without being too harsh on most cabinet finishes.
Step 4: Wipe the Inside of the Cabinets
Wipe shelves, side panels, the inside of doors and drawer interiors. Use gentle pressure and avoid soaking the surface.
For corners and grooves, use a soft-bristle toothbrush. Do not scrape with knives, metal tools or rough pads, as these can damage the cabinet lining or finish.
Step 5: Clean Cabinet Doors and Exterior Surfaces
Wipe the outside of cabinet doors, drawer fronts, handles and frames. Focus on high-touch areas such as handles, edges and the cabinets near the stove.
If you are cleaning timber or wood-look cabinets, wipe with the grain where possible. For gloss or matte cabinets, use smooth, even strokes to reduce streaks.
Step 6: Rinse Away Cleaning Residue
Use a second clean cloth dampened with plain water to remove any soap residue. This step is important because leftover cleaner can leave streaks, attract more dust or dull the cabinet finish.
Again, make sure the cloth is damp rather than wet.
Step 7: Dry Immediately
Use a clean, dry microfibre cloth or towel to dry every surface. This is one of the most important steps, especially for wood, painted, laminate and polyurethane cabinets.
Do not close cabinets while the interiors are still damp. Allow them to air briefly before restocking.
Step 8: Reorganise Before Putting Items Back
Once the cabinets are clean and dry, organise items before returning them. Group similar items together, use containers or shelf organisers, and keep frequently used items within easy reach.
A well-organised cabinet is easier to keep clean because spills, crumbs and clutter are easier to spot.
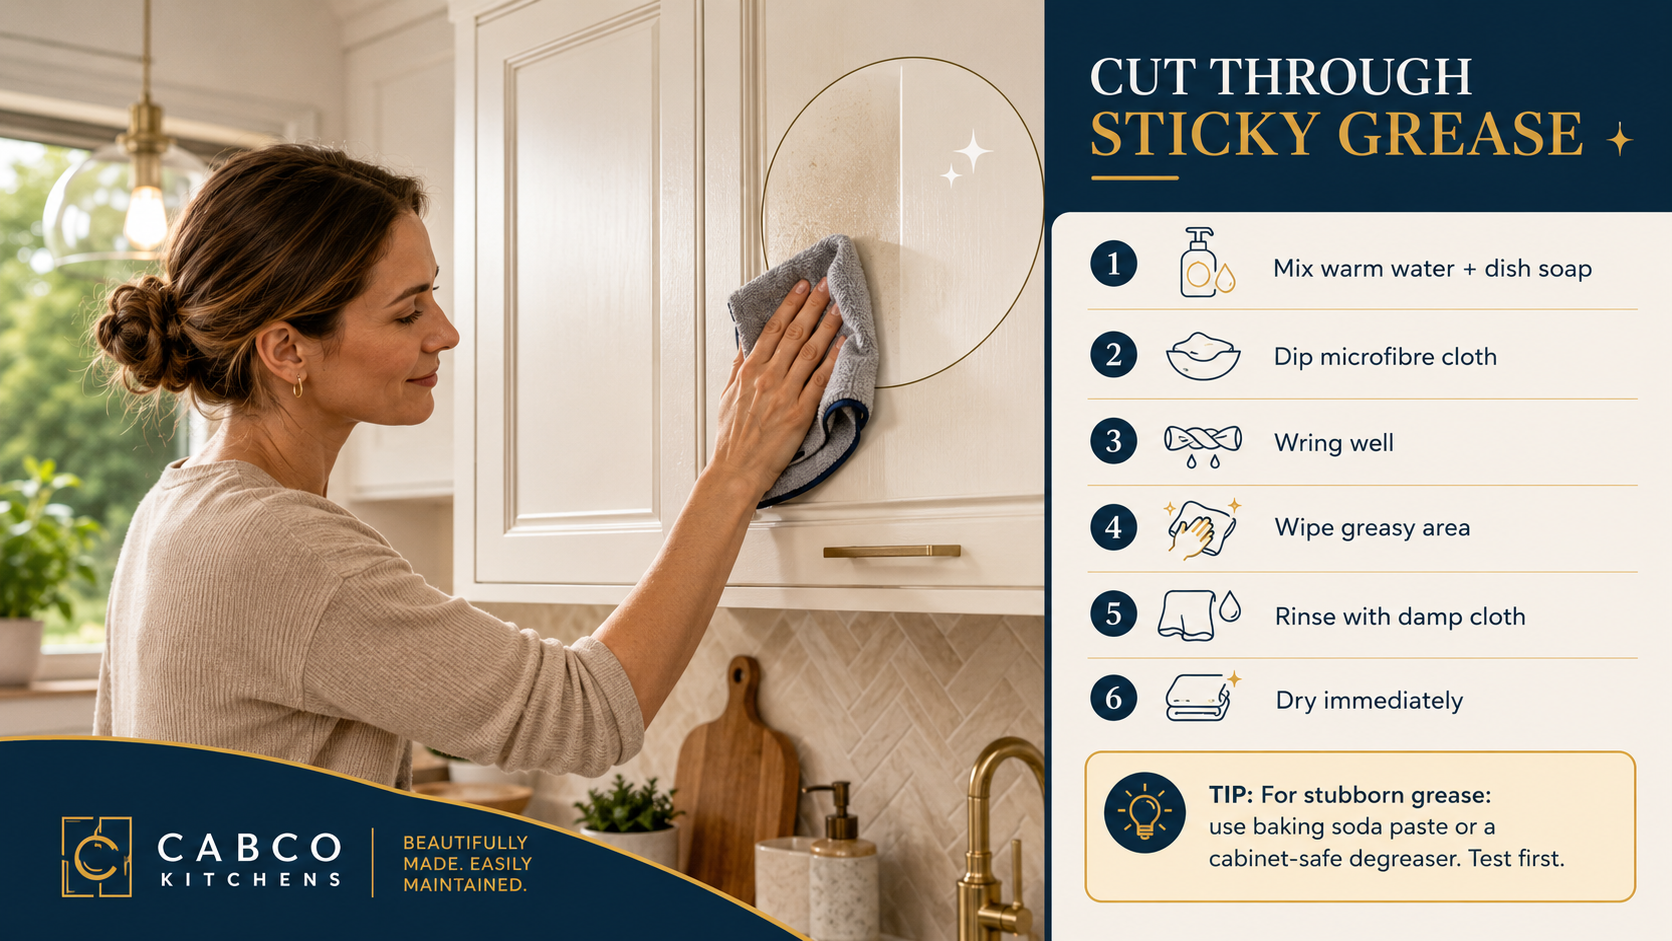
1. How to Clean Greasy Kitchen Cabinets
Grease is one of the biggest reasons kitchen cabinets become sticky or dull. Cabinets near the cooktop, oven and rangehood usually collect the most oil residue.
For light grease, warm water and dish soap are usually enough. Dish soap is designed to break down oil, making it a safe first option for most cabinet finishes.
To clean greasy cabinets:
- Mix warm water with a few drops of dish soap.
- Dip a microfibre cloth into the solution.
- Wring the cloth out well.
- Wipe the greasy area gently.
- Rinse with a clean, damp cloth.
- Dry immediately with a soft towel.
For stubborn sticky grease, make a paste using baking soda and water. Apply a small amount to the greasy spot with a soft cloth or sponge, rub gently, then rinse and dry. Avoid heavy scrubbing, especially on painted, gloss or timber cabinets.
You can also use a cabinet-safe degreaser or citrus-based cleaner if the finish allows it. Always read the product label and test it on a hidden area first.
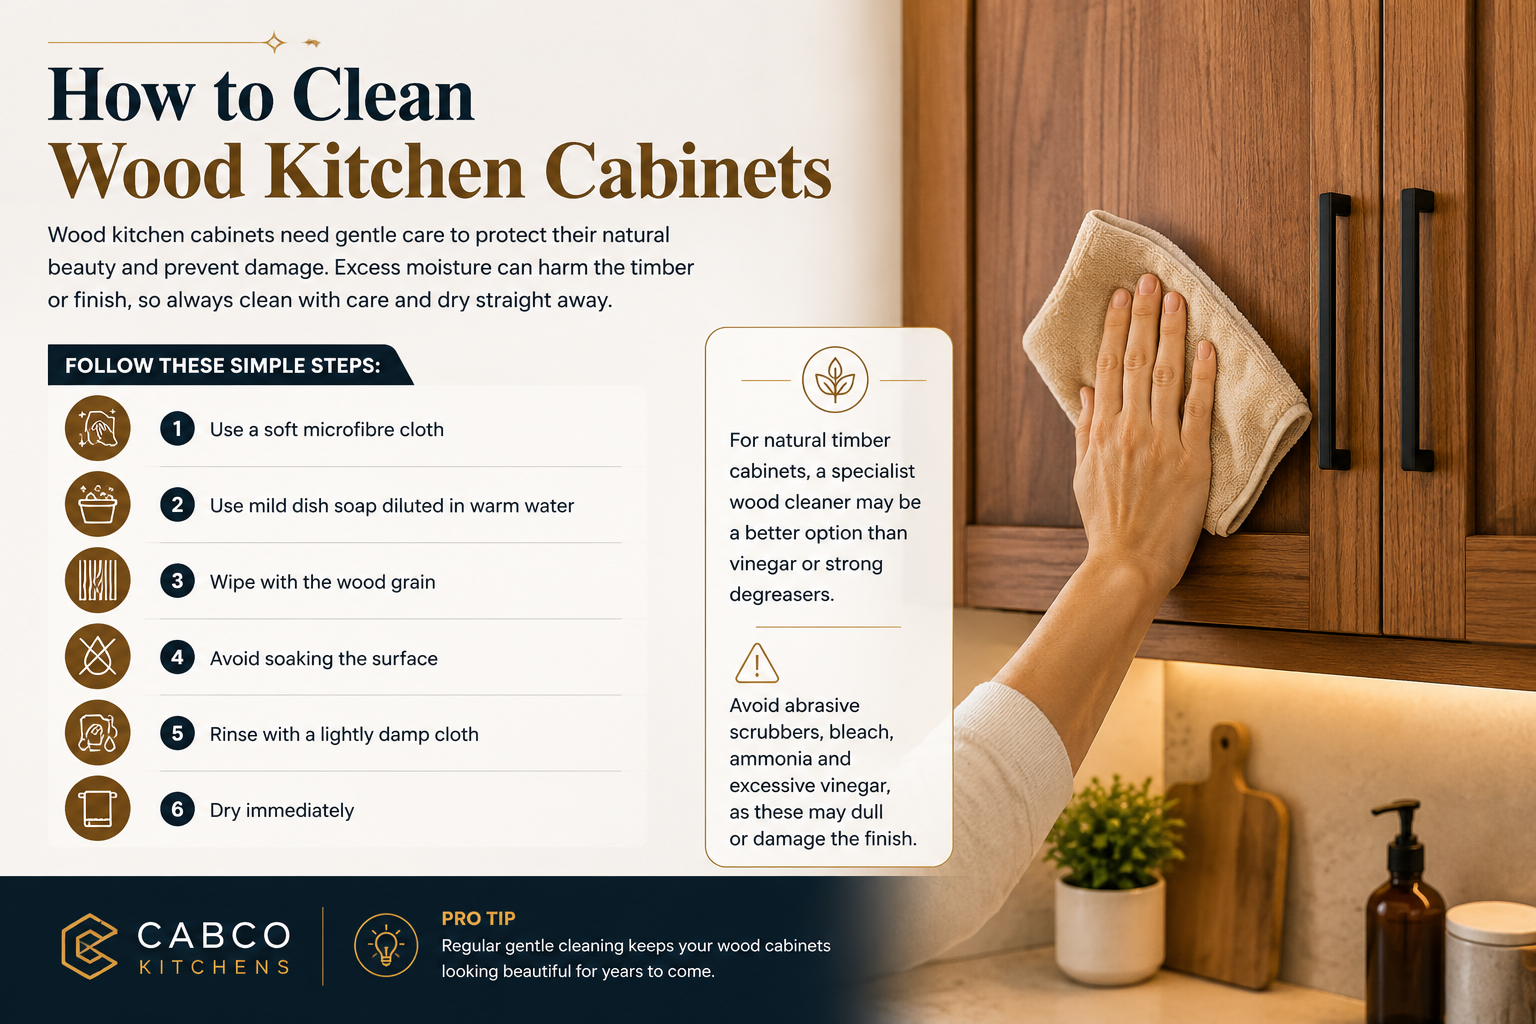
2. How to Clean Wood Kitchen Cabinets
Wood kitchen cabinets need careful cleaning because excess moisture can damage the timber or finish. Even sealed wood can be affected if water sits on the surface or seeps into joints.
To clean wood cabinets:
- Use a soft microfibre cloth
- Use mild dish soap diluted in warm water
- Wipe with the wood grain
- Avoid soaking the surface
- Rinse with a lightly damp cloth
- Dry immediately
For natural timber cabinets, a specialist wood cleaner may be a better option than vinegar or strong degreasers. Avoid abrasive scrubbers, bleach, ammonia and excessive vinegar, as these may dull or damage the finish.
If your wood cabinets look dry or faded, check the manufacturer’s care instructions before applying oils, waxes or polishes. Some products can leave residue or interfere with the existing coating.
3. How to Clean Laminate Kitchen Cabinets
Laminate cabinets are generally easier to clean than natural wood, but they still need proper care. Harsh scrubbing can scratch the surface, and water can damage edges if it gets underneath the laminate.
To clean laminate cabinets:
- Use a soft microfibre cloth
- Use mild dish soap diluted in warm water
- Wipe the surface gently
- Avoid leaving moisture around seams or edges
- Rinse with a lightly damp cloth
- Dry thoroughly
For light stains, diluted white vinegar may help, but it should still be tested first. Avoid abrasive pads, strong solvents and leaving moisture around seams or edges.
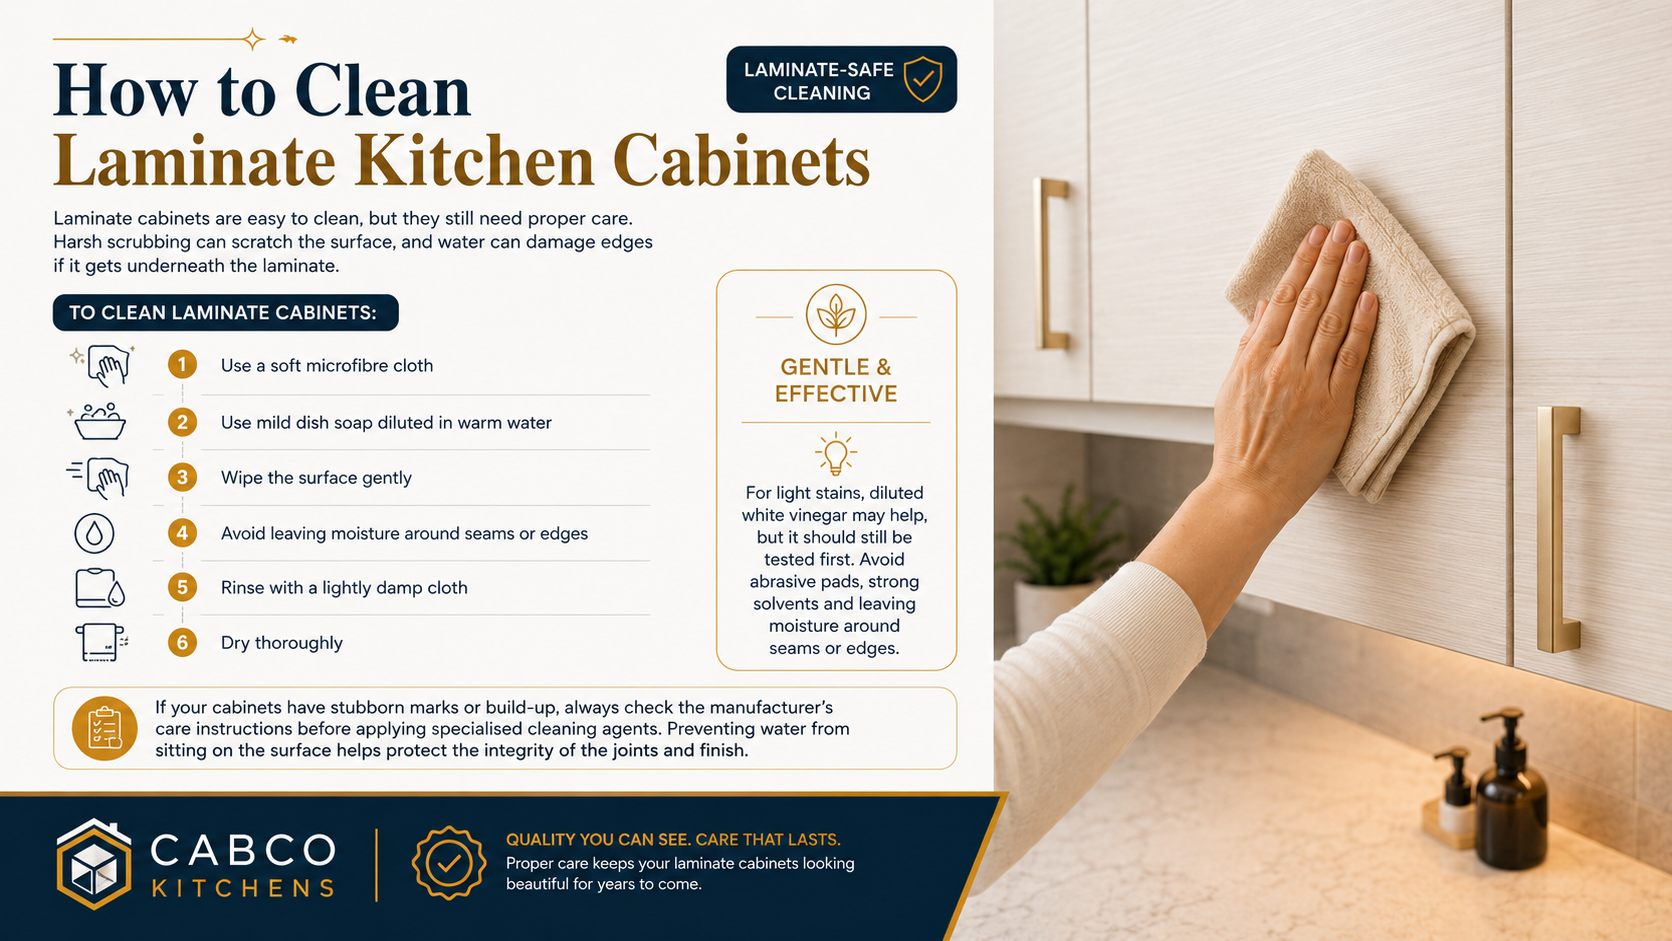
If your cabinets have stubborn marks or build-up, always check the manufacturer’s care instructions before applying specialised cleaning agents. Much like the process for timber, preventing water from sitting on the surface is essential for protecting the integrity of the joints and finish.
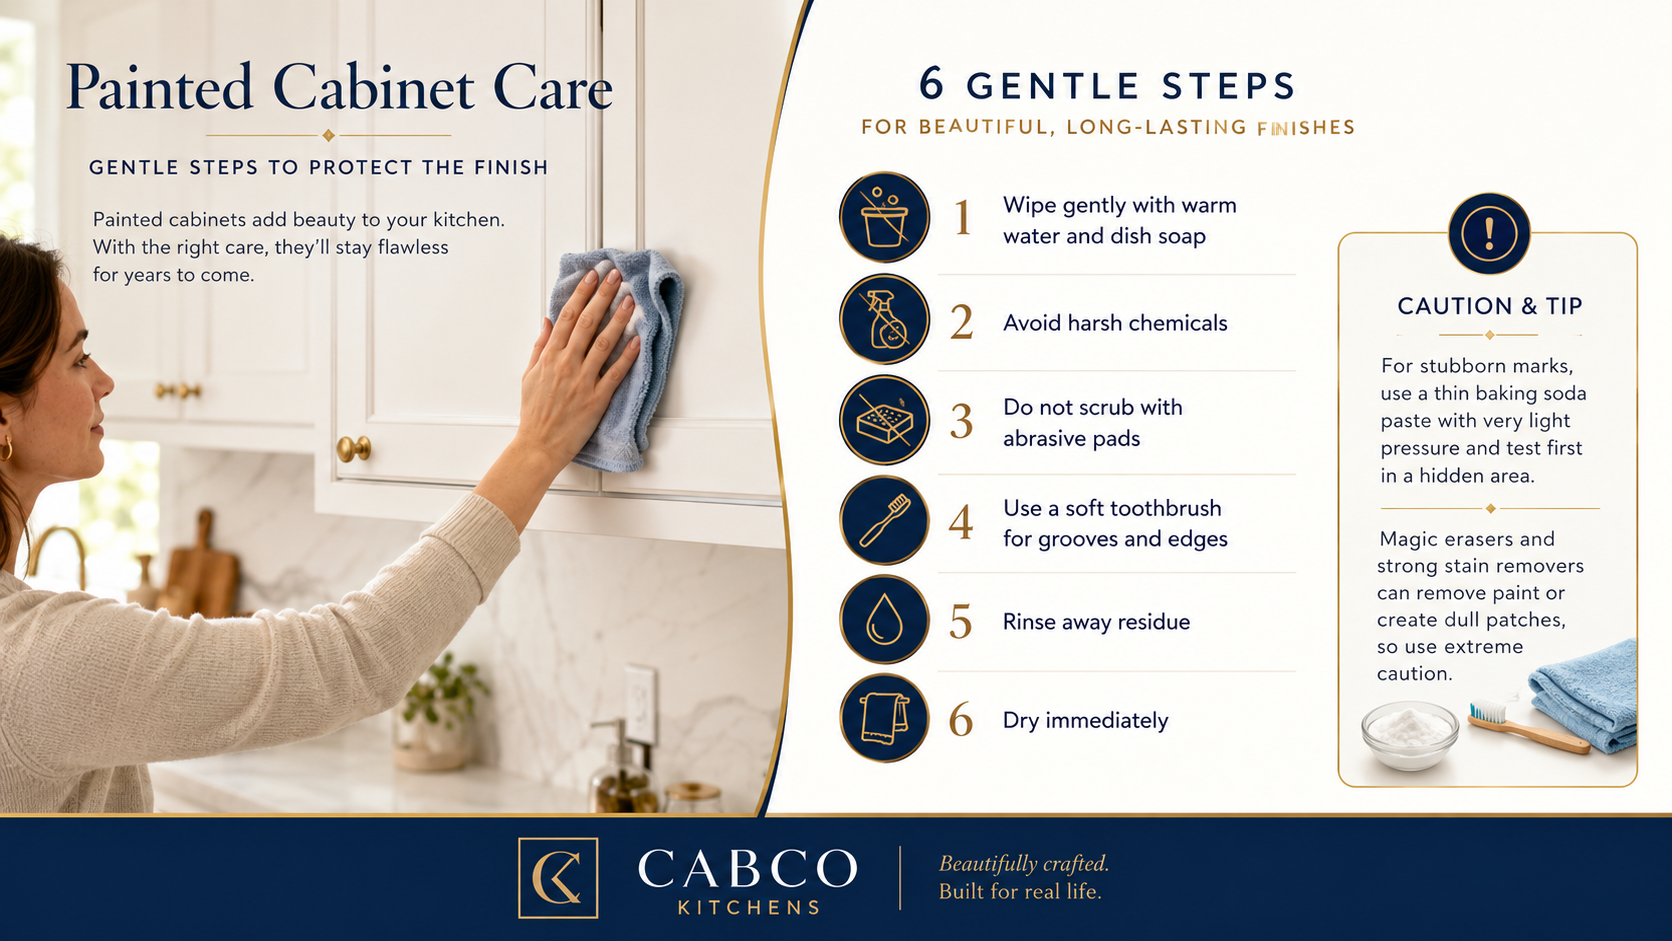
4. How to Clean Painted Kitchen Cabinets
Painted cabinets can look beautiful, but they can chip, scratch or dull if cleaned too aggressively. The safest method is a mild soap solution and a soft microfibre cloth.
To clean painted cabinets:
- Wipe gently with warm water and dish soap
- Avoid harsh chemicals
- Do not scrub with abrasive pads
- Use a soft toothbrush for grooves and edges
- Rinse away residue
- Dry immediately
For stubborn marks, use a thin baking soda paste and very light pressure. Test first in a hidden area. Magic erasers and strong stain removers can remove paint or create dull patches, so they should be used with extreme caution.
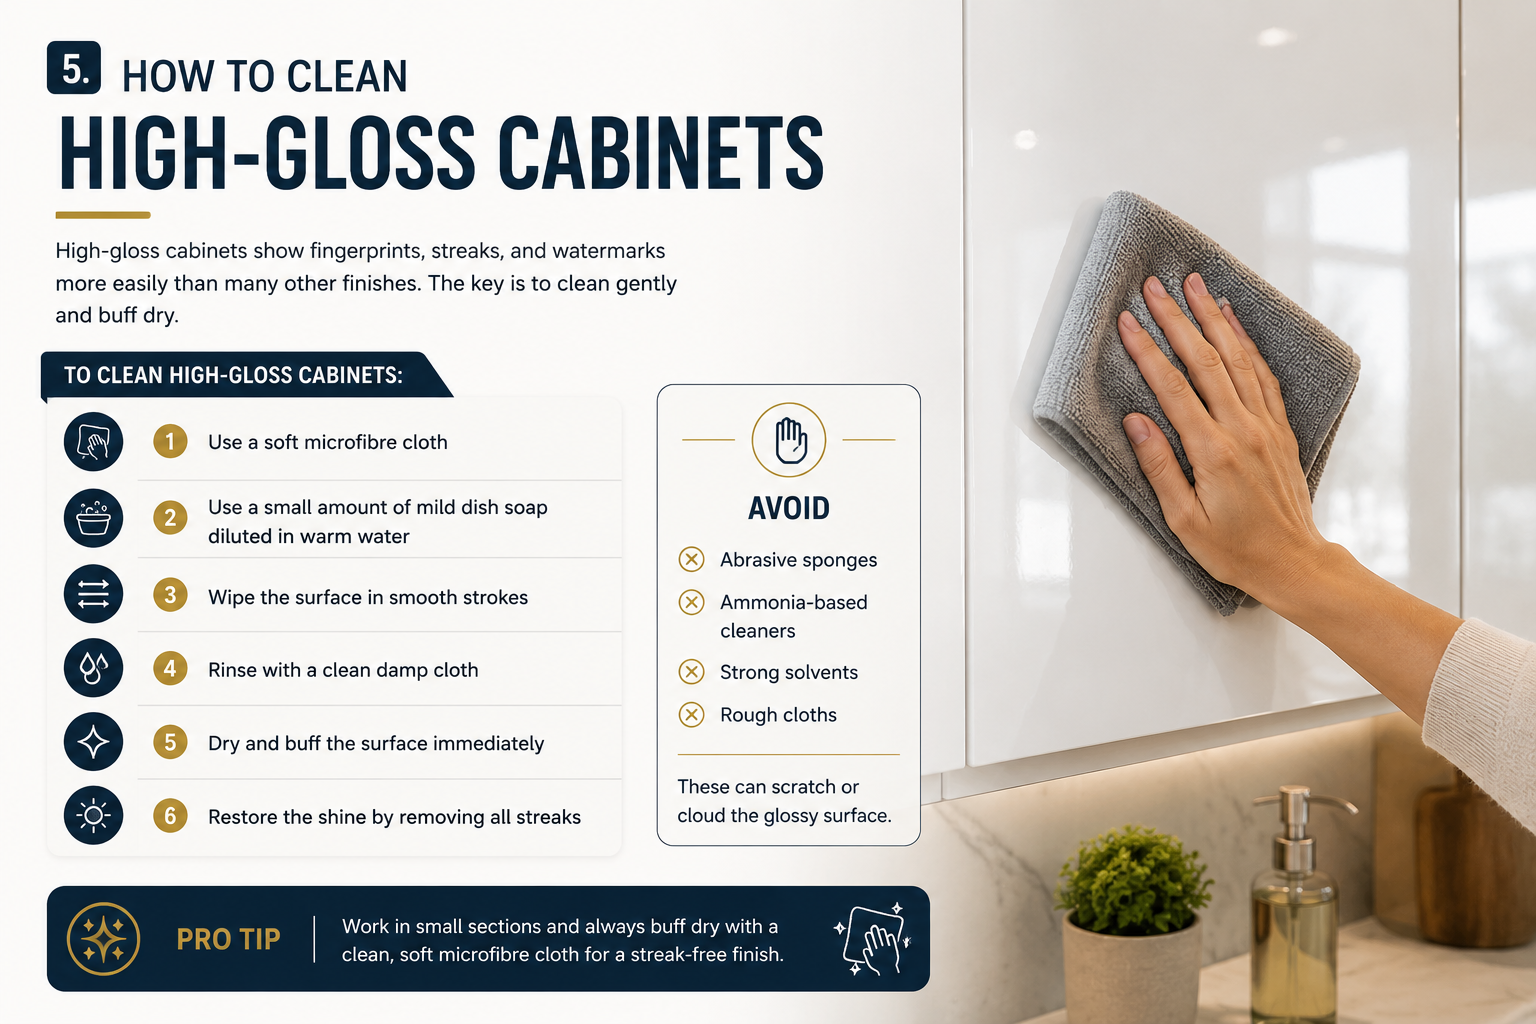
5. How to Clean High-Gloss Cabinets
High-gloss cabinets show fingerprints, streaks, and watermarks more easily than many other finishes. The key is to clean gently and buff dry.
To clean high-gloss cabinets:
- Use a soft microfibre cloth
- Use a small amount of mild dish soap diluted in warm water
- Wipe the surface in smooth strokes
- Rinse with a clean damp cloth
- Dry and buff the surface immediately
- Restore the shine by removing all streaks
Avoid abrasive sponges, ammonia-based cleaners, strong solvents and rough cloths. These can scratch or cloud the glossy surface.
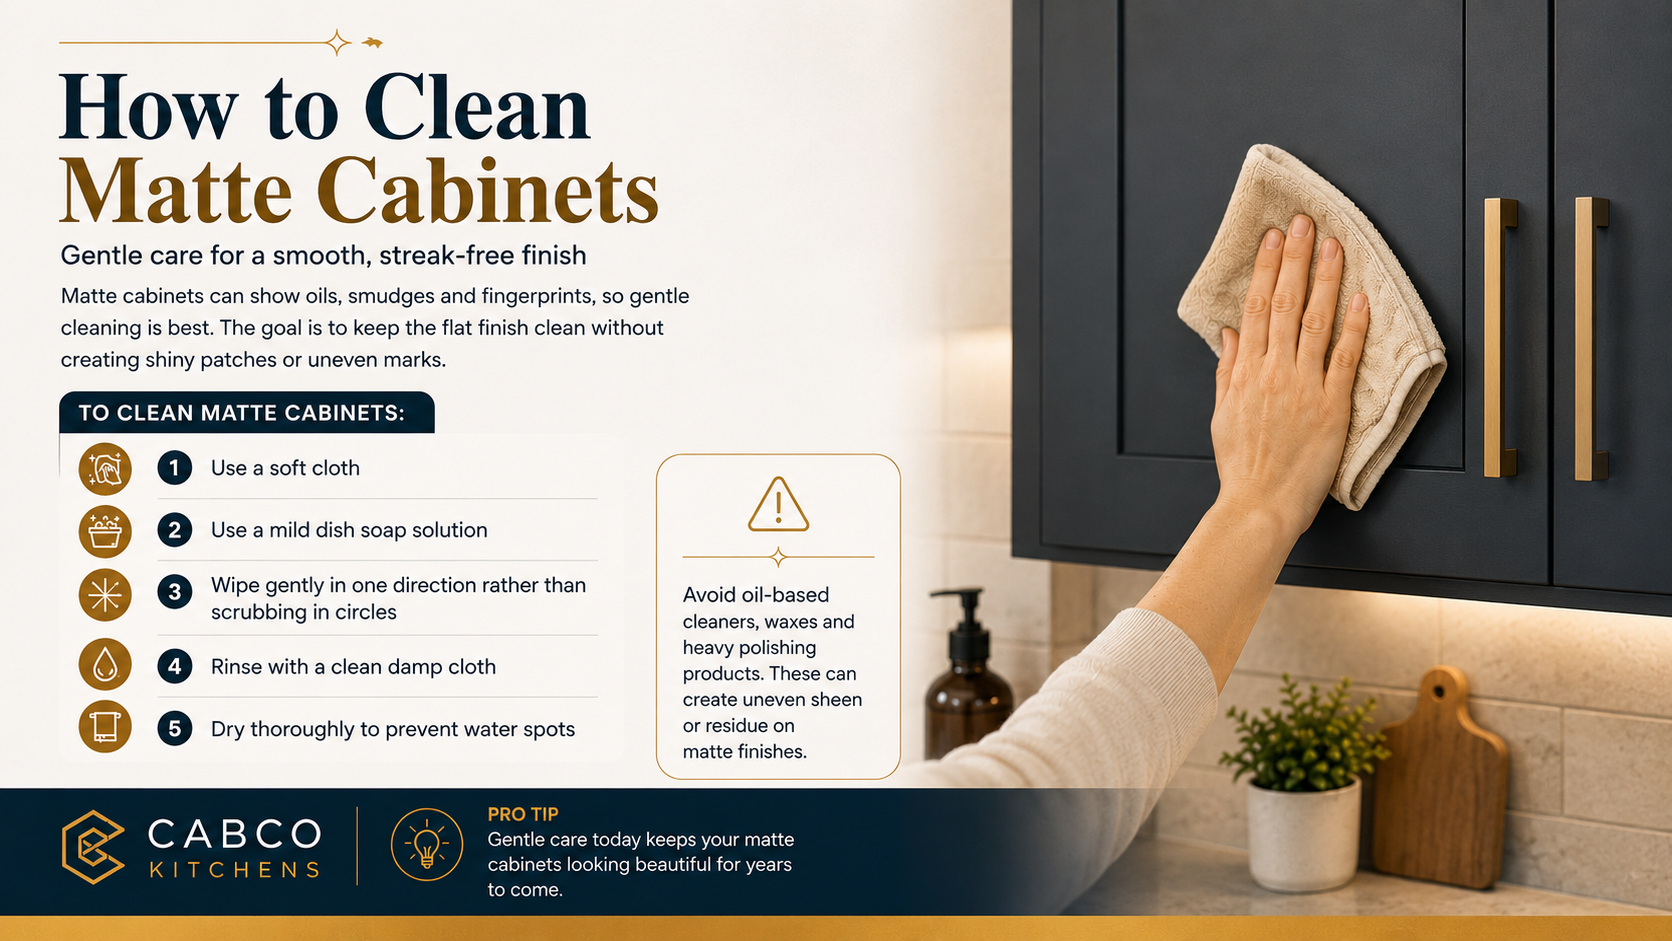
6. How to Clean Matte Cabinets
Matte cabinets are prone to showing oils, smudges, and fingerprints, but aggressive cleaning should be avoided as it may leave shiny patches or uneven marks. The goal is to maintain the flat finish without buffing it into a sheen.
To clean matte cabinets:
- Use a soft cloth
- Use mild dish soap diluted in warm water
- Wipe with the grain
- Rinse with a damp cloth after cleaning
- Dry immediately to prevent water spots
Avoid oil-based cleaners, waxes and heavy polishing products. These can create uneven sheen or residue on matte finishes.
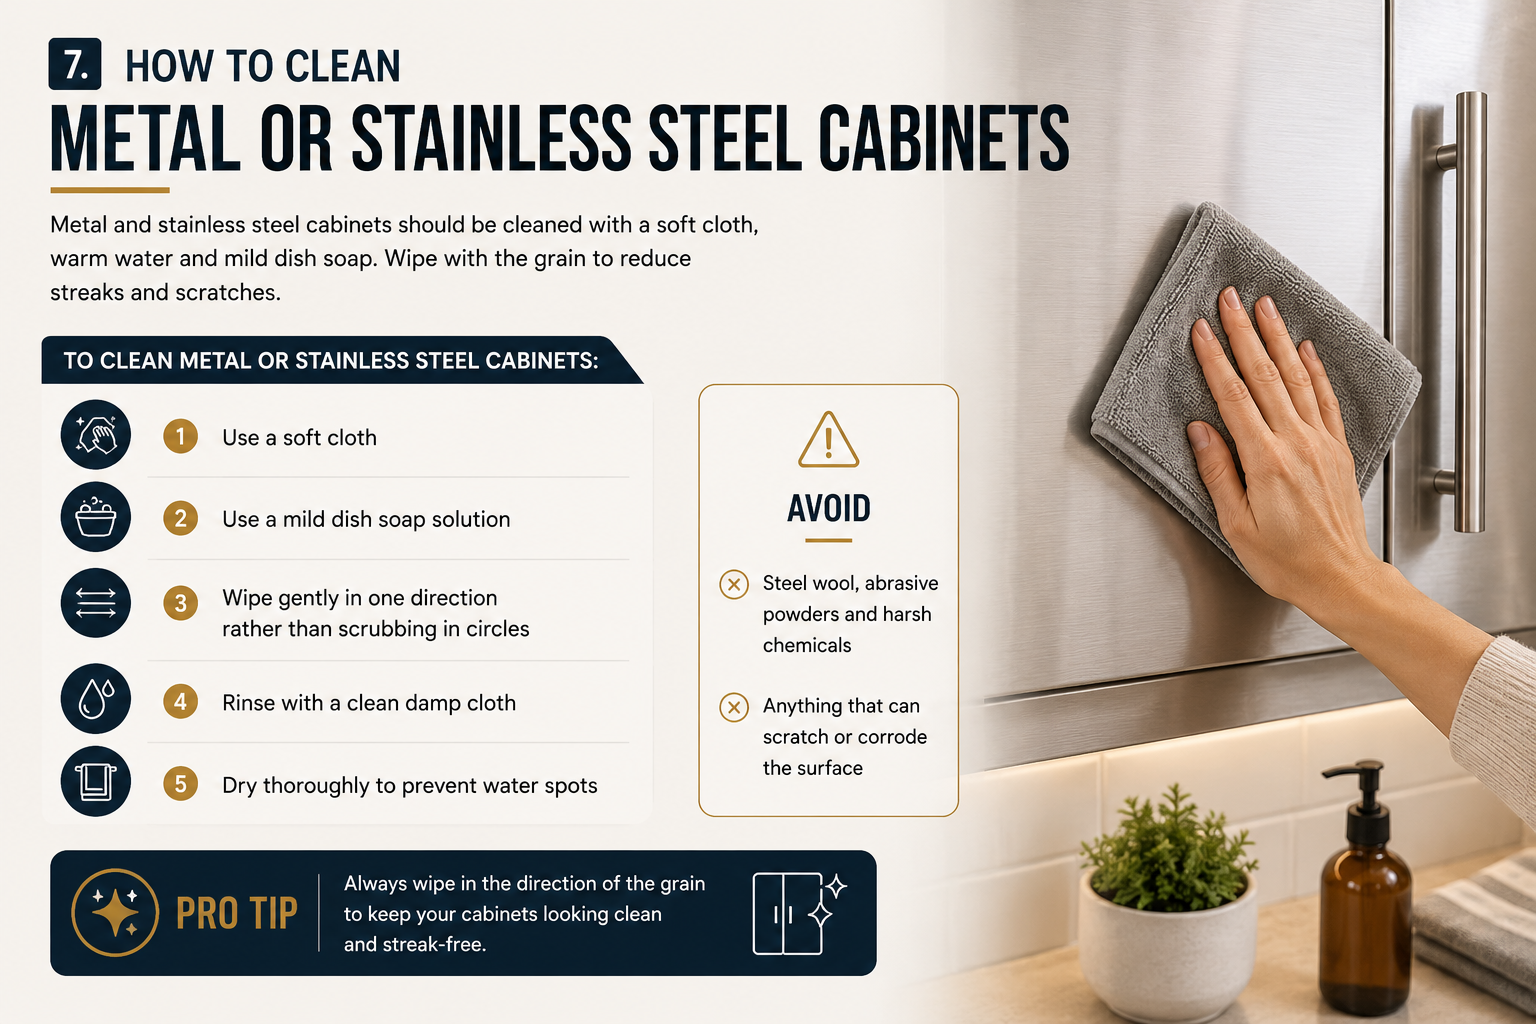
7. How to Clean Metal or Stainless Steel Cabinets
Metal and stainless steel cabinets should be cleaned with a soft cloth, warm water and mild dish soap. Wipe with the grain to reduce streaks and scratches.
To clean metal or stainless steel cabinets:
- Use a soft cloth
- Use a mild dish soap solution
- Wipe gently in one direction rather than scrubbing in circles
- Rinse with a clean damp cloth
- Dry thoroughly to prevent water spots
Avoid steel wool, abrasive powders and harsh chemicals that can scratch or corrode the surface
8. How to Clean Glass Cabinet Doors
Glass cabinet doors need careful cleaning because liquid can run into surrounding timber, painted frames or joins.
To clean metal or stainless steel cabinets:
- Use a soft cloth
- Use a mild dish soap solution
- Wipe gently in one direction rather than scrubbing in circles
- Rinse with a clean damp cloth
- Dry thoroughly to prevent water spots
Instead of spraying glass cleaner directly onto the door, spray it onto a microfibre cloth first. Wipe the glass, then dry with a clean cloth to prevent streaks.
For a simple alternative, use a diluted vinegar and water solution on the glass only. Avoid letting vinegar or glass cleaner sit on timber, paint or metal hardware.

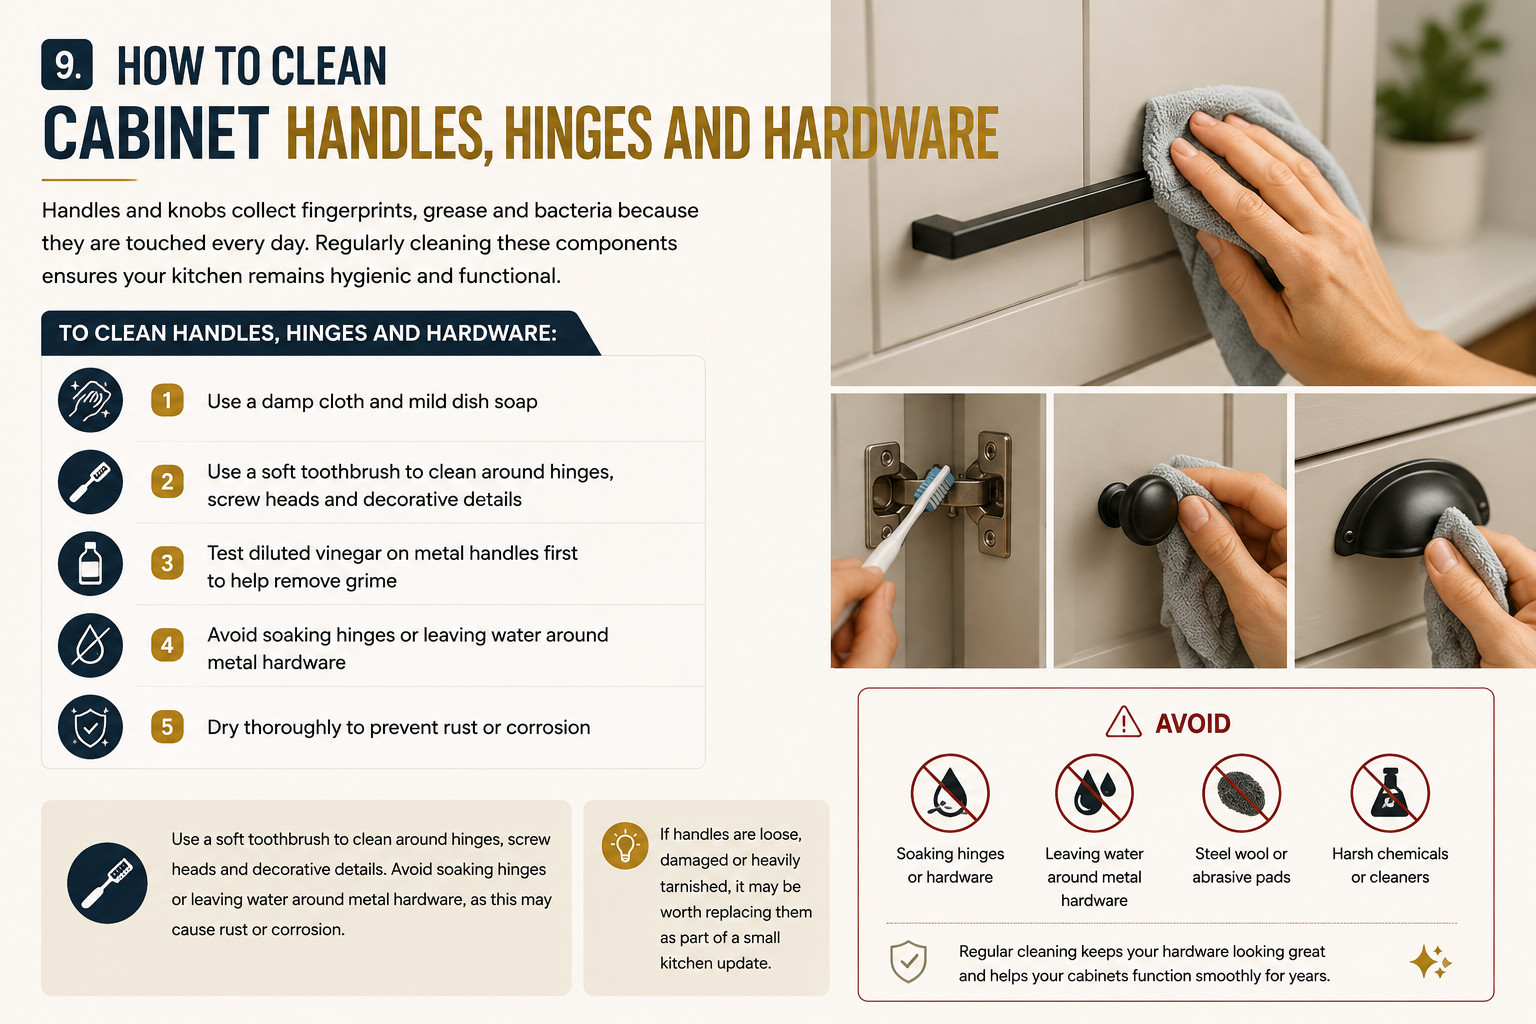
9. How to Clean Cabinet Handles, Hinges and Hardware
Handles and knobs collect fingerprints, grease and bacteria because they are touched every day. Regularly cleaning these components ensures your kitchen remains hygienic and functional.
To clean handles, hinges and hardware:
- Use a damp cloth and mild dish soap
- Use a soft toothbrush to clean around hinges, screw heads and decorative details
- Test diluted vinegar on metal handles first to help remove grime
- Avoid soaking hinges or leaving water around metal hardware
- Dry thoroughly to prevent rust or corrosion
Use a soft toothbrush to clean around hinges, screw heads and decorative details. Avoid soaking hinges or leaving water around metal hardware, as this may cause rust or corrosion.
If handles are loose, damaged or heavily tarnished, it may be worth replacing them as part of a small kitchen update.
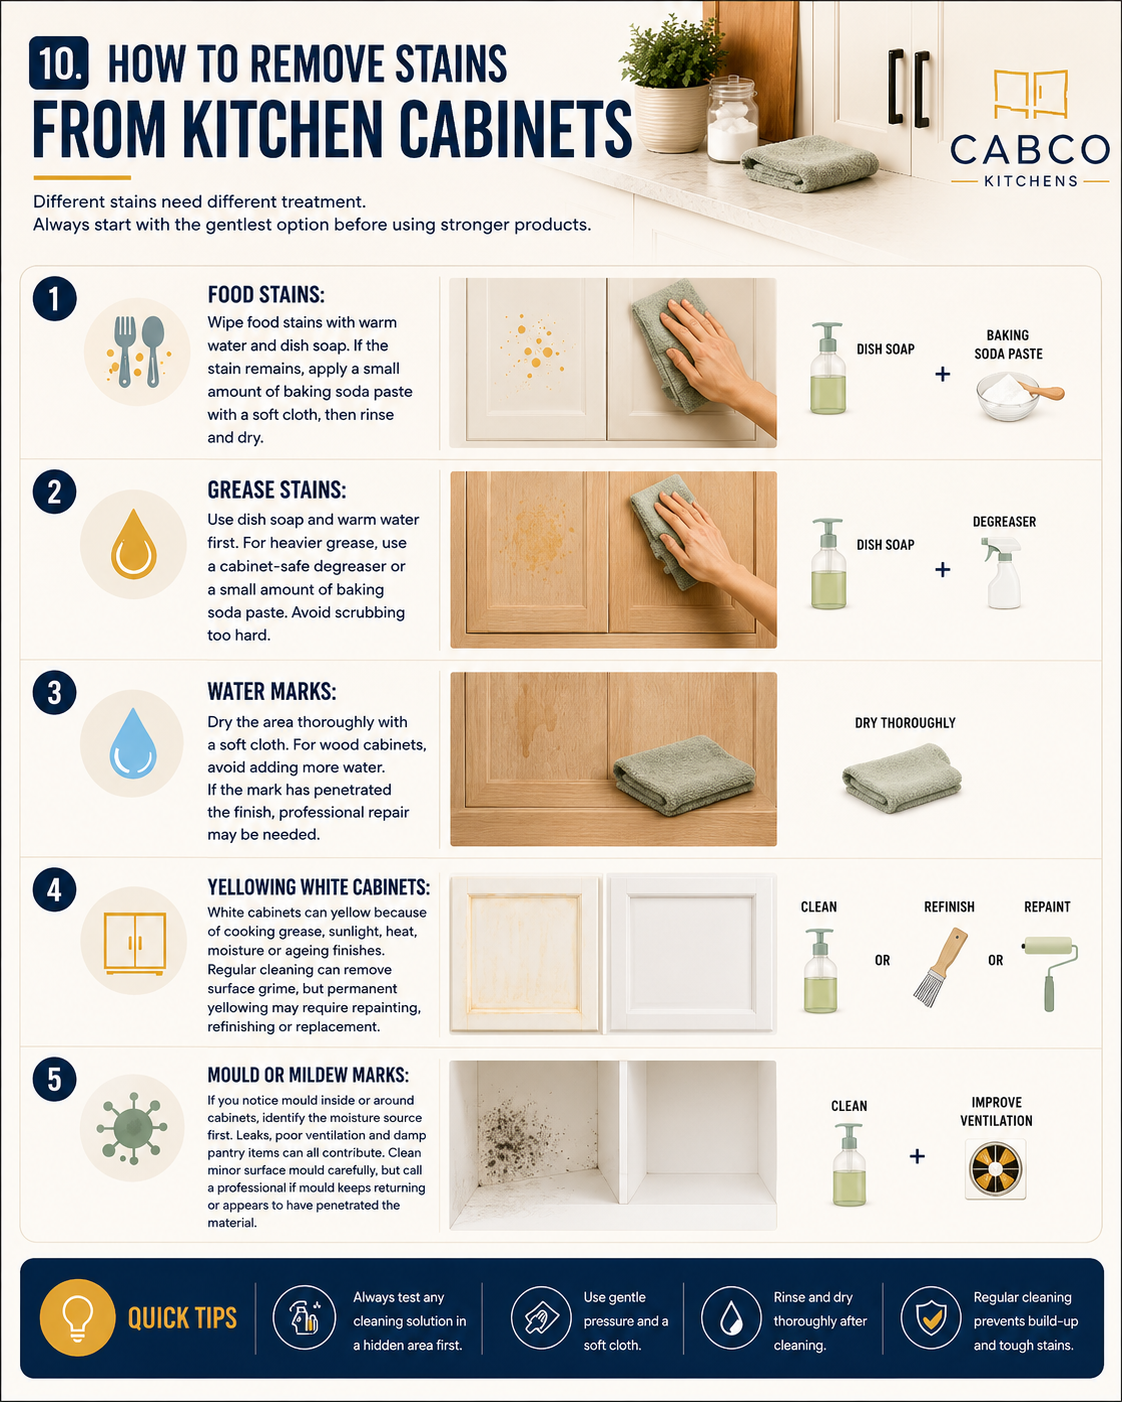
10. How to Remove Stains from Kitchen Cabinets
Different stains need different treatment. Always start with the gentlest option before using stronger products.
- Food Stains: Wipe food stains with warm water and dish soap. If the stain remains, apply a small amount of baking soda paste with a soft cloth, then rinse and dry.
- Grease Stains: Use dish soap and warm water first. For heavier grease, use a cabinet-safe degreaser or a small amount of baking soda paste. Avoid scrubbing too hard.
- Water Marks: Dry the area thoroughly with a soft cloth. For wood cabinets, avoid adding more water. If the mark has penetrated the finish, professional repair may be needed.
- Yellowing White Cabinets: White cabinets can yellow because of cooking grease, sunlight, heat, moisture or ageing finishes. Regular cleaning can remove surface grime, but permanent yellowing may require repainting, refinishing or replacement.
- Mould or Mildew Marks: If you notice mould inside or around cabinets, identify the moisture source first. Leaks, poor ventilation and damp pantry items can all contribute. Clean minor surface mould carefully, but call a professional if mould keeps returning or appears to have penetrated the material.
How to Deep Clean Inside Kitchen Cabinets
Deep cleaning cabinet interiors keeps your kitchen more hygienic and organised. It also helps prevent crumbs, odours and pest issues.
Start by removing everything from the cabinet. Check expiry dates on pantry items and inspect containers for spills or sticky residue.
Vacuum crumbs and loose debris from shelves, corners and drawer tracks. Then wipe shelves, walls and the inside of doors with a damp cloth and mild dish soap.
Rinse with a clean damp cloth and dry thoroughly. Leave cabinet doors open briefly so the interiors can air dry before restocking.
Before putting items back, consider using:
* Clear pantry containers
* Shelf liners
* Baskets
* Drawer dividers
* Lazy Susans
* Pull-out organisers
These make cabinets easier to clean and help keep your kitchen more functional.
Common Kitchen Cabinet Cleaning Mistakes
Many cabinet problems are caused by using the wrong cleaning method. Avoid these common mistakes to protect your kitchen cabinetry.
- Using Too Much Water: Excess water can seep into edges, joins and panels. This may cause swelling, warping or peeling, especially on timber, laminate and MDF-based cabinets.
- Scrubbing Too Hard: Abrasive scrubbing can scratch surfaces, dull gloss finishes, and remove paint. Gentle repeated cleaning is safer than forceful scrubbing.
- Skipping the Rinse Step: Soap, vinegar or degreaser residue can leave streaks and attract more dirt. Always wipe with a clean, damp cloth after using a cleaning solution.
- Not Drying Cabinets: Leaving cabinets damp can cause water spots, streaks and moisture damage. Drying is essential for almost every cabinet finish.
- Using Harsh Chemicals: Bleach, ammonia, strong solvents and abrasive powders can damage cabinet finishes. Unless the manufacturer specifically recommends them, avoid these products.
- Forgetting Cabinet Tops: The tops of upper cabinets can collect dust and grease, especially if they do not reach the ceiling. Clean these areas regularly to prevent sticky build-up.
- Ignoring Handles and Edges: Handles, edges, and corners are among the dirtiest parts of kitchen cabinetry. They should be included in weekly cleaning.
How to Keep Kitchen Cabinets Cleaner for Longer
- Preventing build-up is easier than removing heavy grease later. A few simple habits can keep your cabinets looking cleaner for longer.
- Use your rangehood whenever you cook. This helps reduce steam, grease and odours settling on cabinet surfaces.
- Wipe spills and splashes as soon as they happen. Food, oil and moisture are easier to remove when fresh.
- Clean around the stove weekly. Cabinets near cooking areas are more likely to develop sticky residue.
- Keep cabinet interiors organised. When items are easy to access, spills and crumbs are easier to notice and clean.
- Avoid storing damp items inside cabinets. Wet containers, cloths or cookware can introduce moisture and lead to odours or mould.
- Check under-sink cabinets regularly. These areas are more likely to develop leaks, water damage or mildew.
When to Call a Professional Cabinet Maker or Cleaner
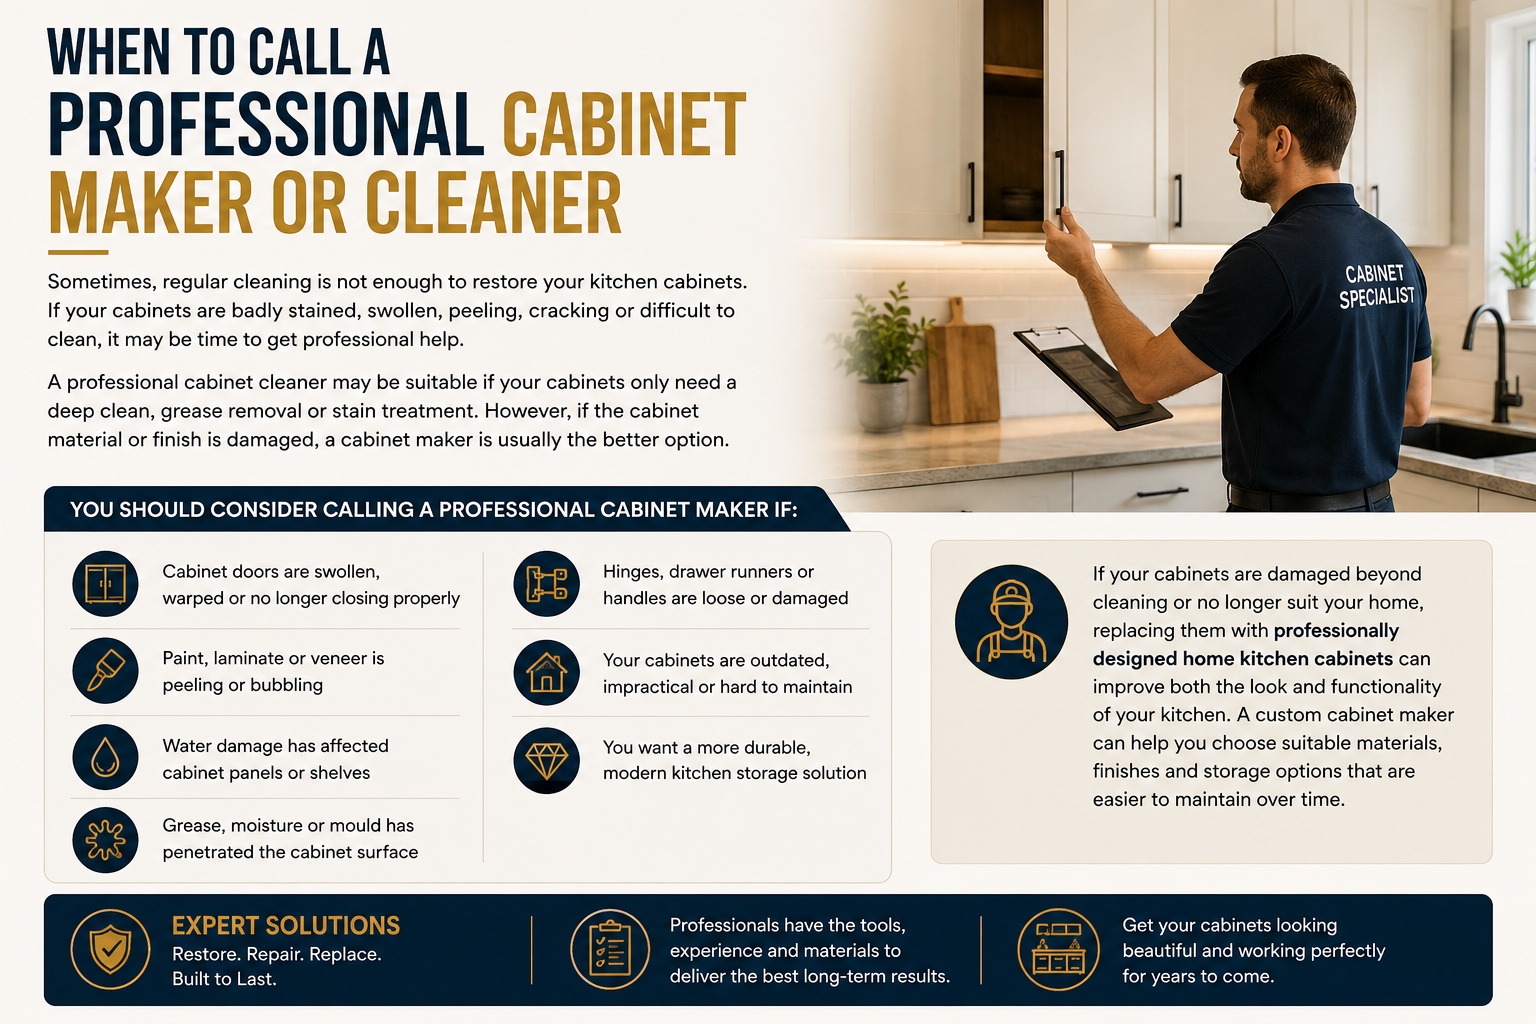
Sometimes, regular cleaning is not enough to restore your kitchen cabinets. If your cabinets are badly stained, swollen, peeling, cracking or difficult to clean, it may be time to get professional help.
A professional cabinet cleaner may be suitable if your cabinets only need a deep clean, grease removal or stain treatment. However, if the cabinet material or finish is damaged, a cabinet maker is usually the better option.
You should consider calling a professional cabinet maker if:
- Cabinet doors are swollen, warped or no longer closing properly
- Paint, laminate or veneer is peeling or bubbling
- Water damage has affected cabinet panels or shelves
- Grease, moisture or mould has penetrated the cabinet surface
- Hinges, drawer runners or handles are loose or damaged
- Your cabinets are outdated, impractical or hard to maintain
- You want a more durable, modern kitchen storage solution
If your cabinets are damaged beyond cleaning or no longer suit your home, replacing them with professionally designed home kitchen cabinets can improve both the look and functionality of your kitchen. A custom cabinet maker can help you choose suitable materials, finishes and storage options that are easier to maintain over time.
FAQs About Cleaning Kitchen Cabinets
1. What is the best thing to clean kitchen cabinets with?
The best thing to clean most kitchen cabinets with is warm water, mild dish soap and a soft microfibre cloth. This combination is gentle, affordable and effective for everyday grease, fingerprints and dust
2. How do you clean kitchen cabinets without damaging the finish?
Use a damp microfibre cloth, avoid harsh chemicals, rinse away cleaning residue and dry the cabinets immediately. Do not scrub with abrasive pads or leave water sitting on the surface.
3. How do you clean greasy kitchen cabinets?
Mix warm water with mild dish soap and wipe the greasy area with a soft cloth. For stubborn grease, use a small amount of baking soda paste or a cabinet-safe degreaser. Always rinse and dry afterwards.
4. Can you use vinegar to clean kitchen cabinets?
You can use diluted vinegar on some cabinet surfaces, such as laminate, glass and certain sealed finishes. However, vinegar may be too acidic for natural wood, delicate paint or some specialty finishes, so always test first.
5. Can you use baking soda on kitchen cabinets?
Yes, baking soda can be used as a gentle paste for stubborn stains or grease. Use it lightly with a soft cloth and avoid heavy scrubbing, especially on painted or glossy cabinets.
6. How often should kitchen cabinets be cleaned?
Cabinet doors and handles should usually be cleaned weekly or fortnightly. Cabinet interiors should be deep-cleaned every 3 to 4 months, depending on how heavily the kitchen is used.
7. How do you clean white kitchen cabinets that have turned yellow?
Start by cleaning with warm water and dish soap to remove surface grease. If yellowing remains, it may be caused by sunlight, heat, moisture or ageing paint. In that case, the cabinets may need repainting, refinishing or replacement.
8. Should you clean cabinets before painting them?
Yes. Cabinets must be thoroughly cleaned and degreased before painting. Any grease, dust or residue left on the surface can stop primer and paint from bonding properly.
Final Thoughts
Clean kitchen cabinets can make your whole kitchen feel fresher, brighter and more hygienic. The key is to use gentle products, avoid excess water and choose a cleaning method that suits your cabinet material.
For everyday cleaning, mild dish soap, warm water and a microfibre cloth are usually enough. For grease, stains or sticky build-up, take a careful step-by-step approach rather than using harsh chemicals or abrasive tools.
If your cabinets are damaged, outdated or no longer practical, cleaning may only be a short-term solution. In that case, working with a professional cabinet maker can help you create a kitchen that is easier to use, easier to maintain and better suited to your home.


.png?20260711072133968+1000)


